HR and workforce planning
Silos eliminated. Workforce connected. Performance elevated.
The only AI-infused scenario planning and analysis platform for HR and workforce leaders to make the right talent decisions, right now.
Anaplan for HR and Workforce
Transform your workforce planning with agility and uncover talent risks, identify growth opportunities, and empower your teams to drive impactful results.
Solutions for HR and workforce
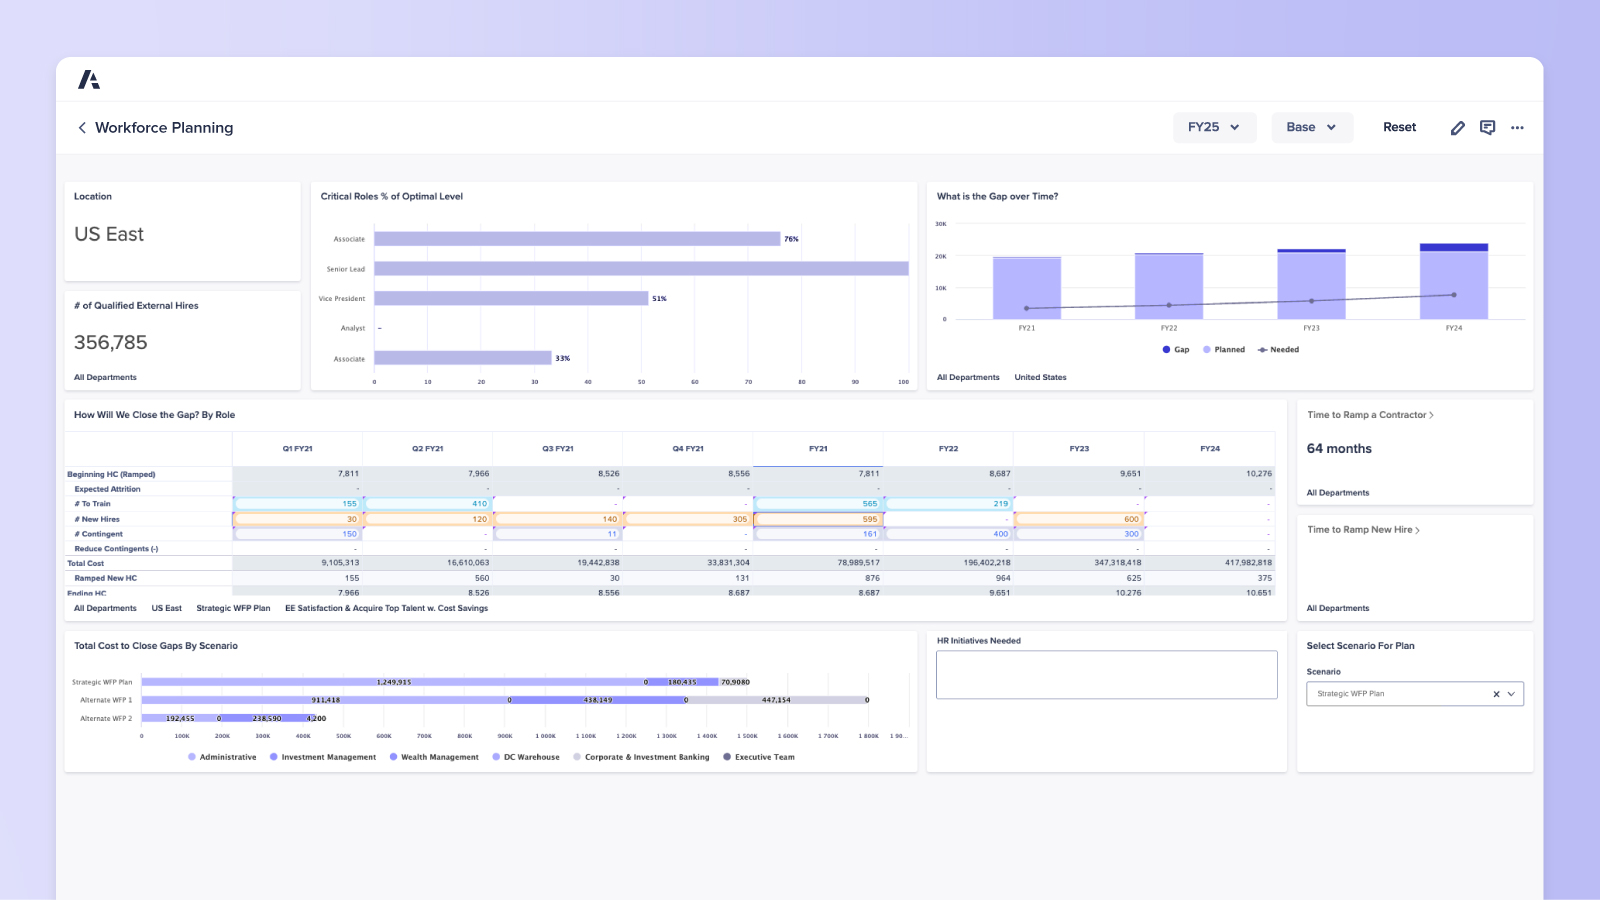
Workforce planning
Uncover workforce gaps and model "what-if" scenarios to understand the cost and business impact of your talent decisions.
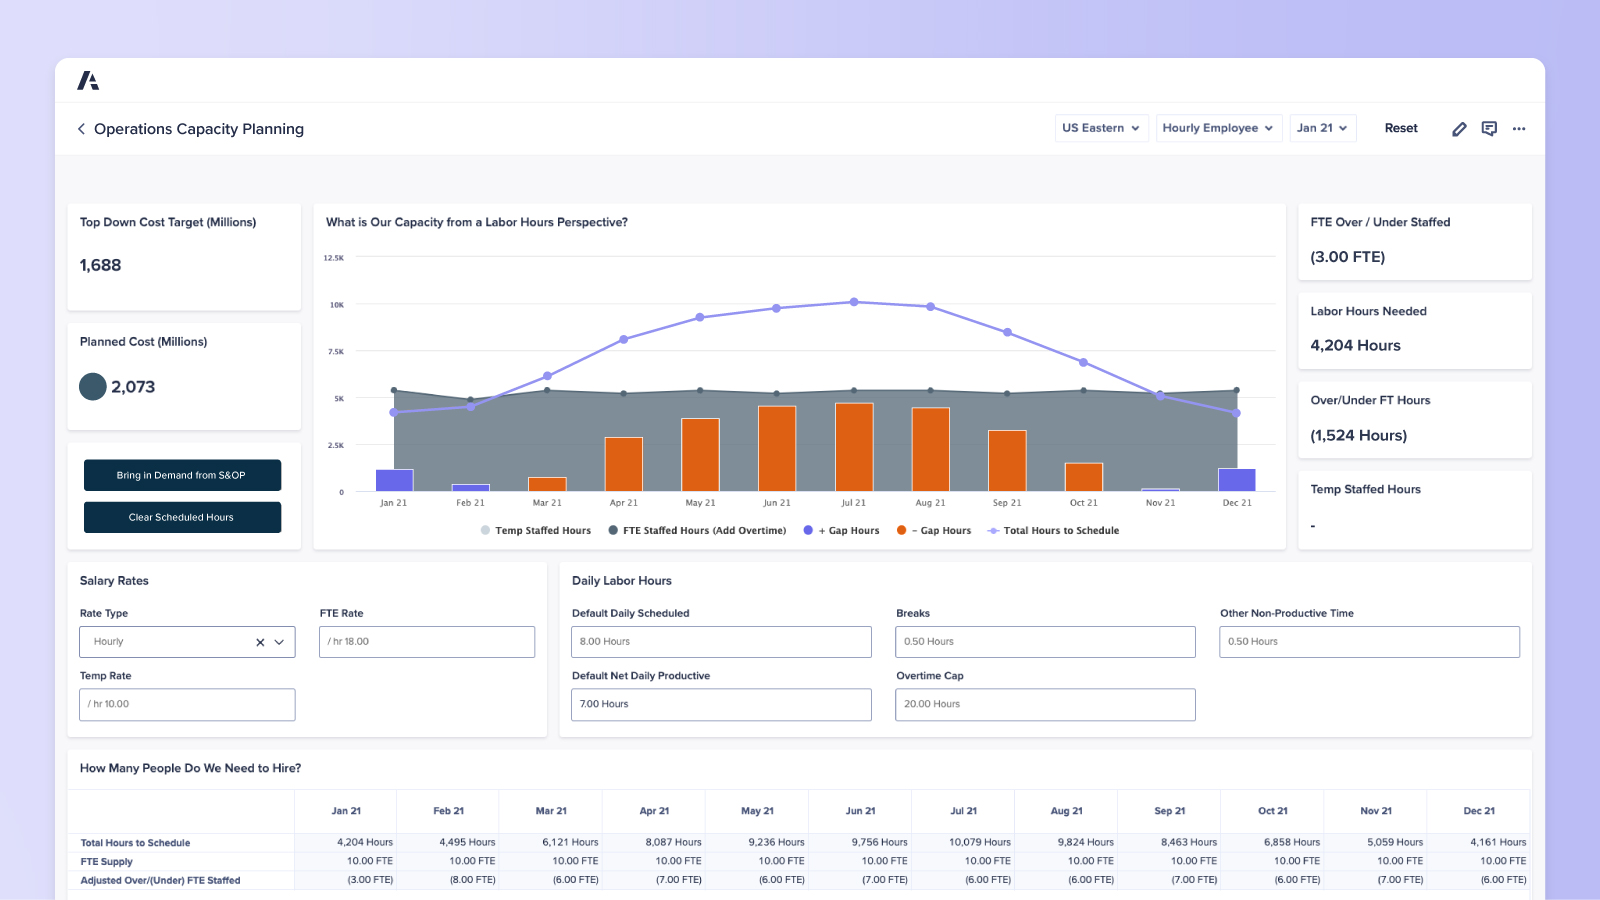
Capacity planning and optimization
Optimize the assignment and distribution of tasks and processes to improve capacity utilization and productivity while reducing costs.
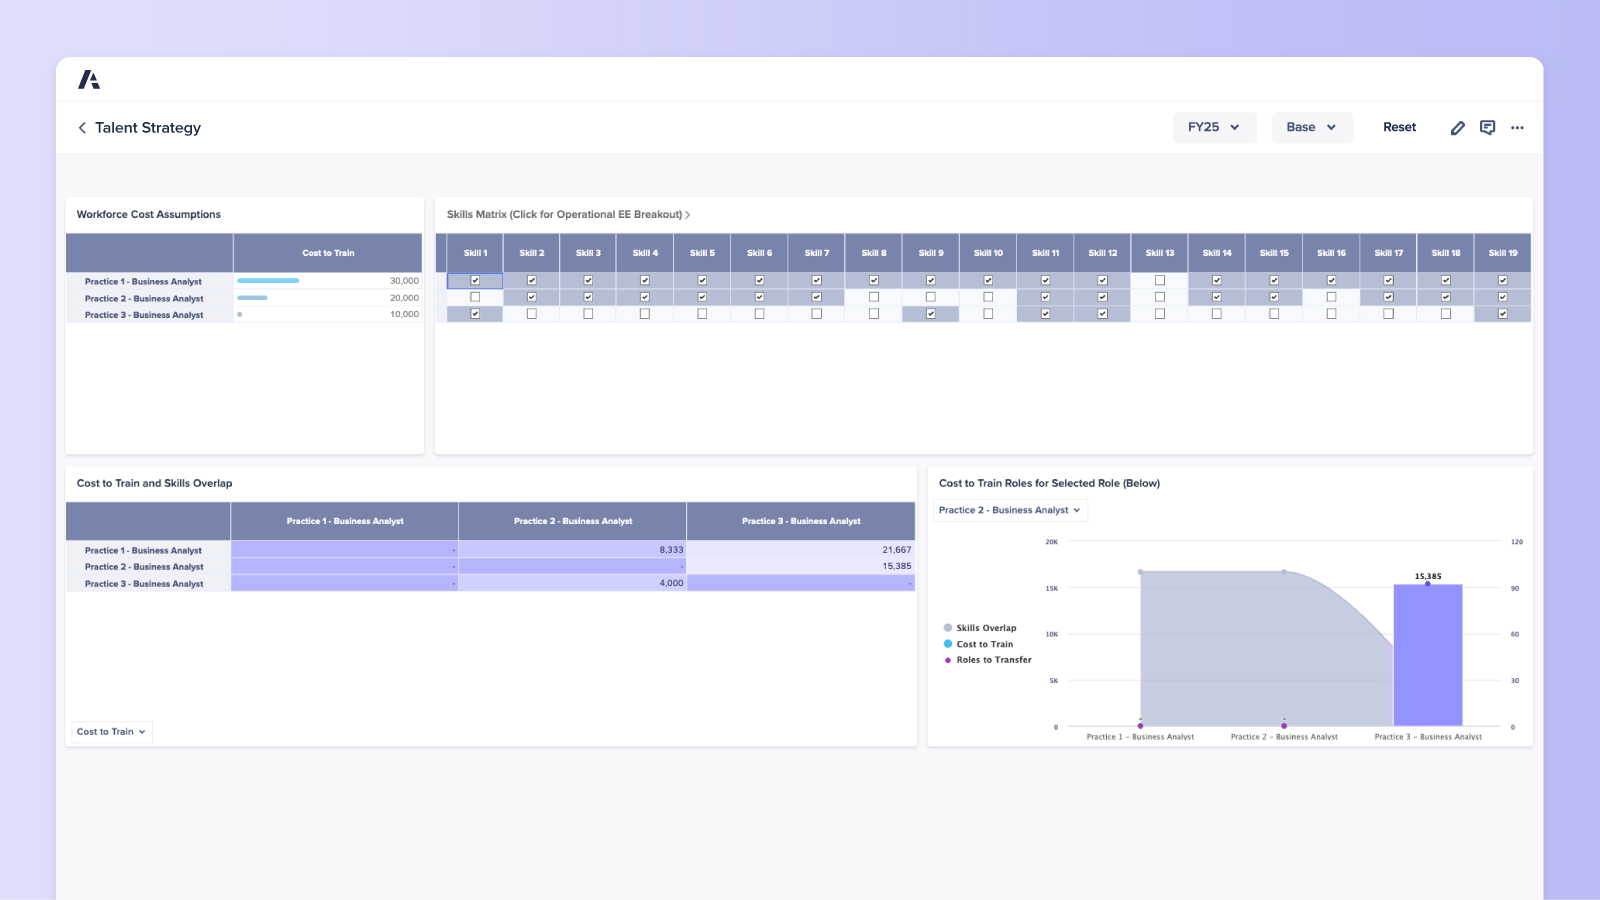
Talent strategy
Prioritize critical workforce skills and dynamics needed to drive the future of your business while tracking against KPIs like DEI.
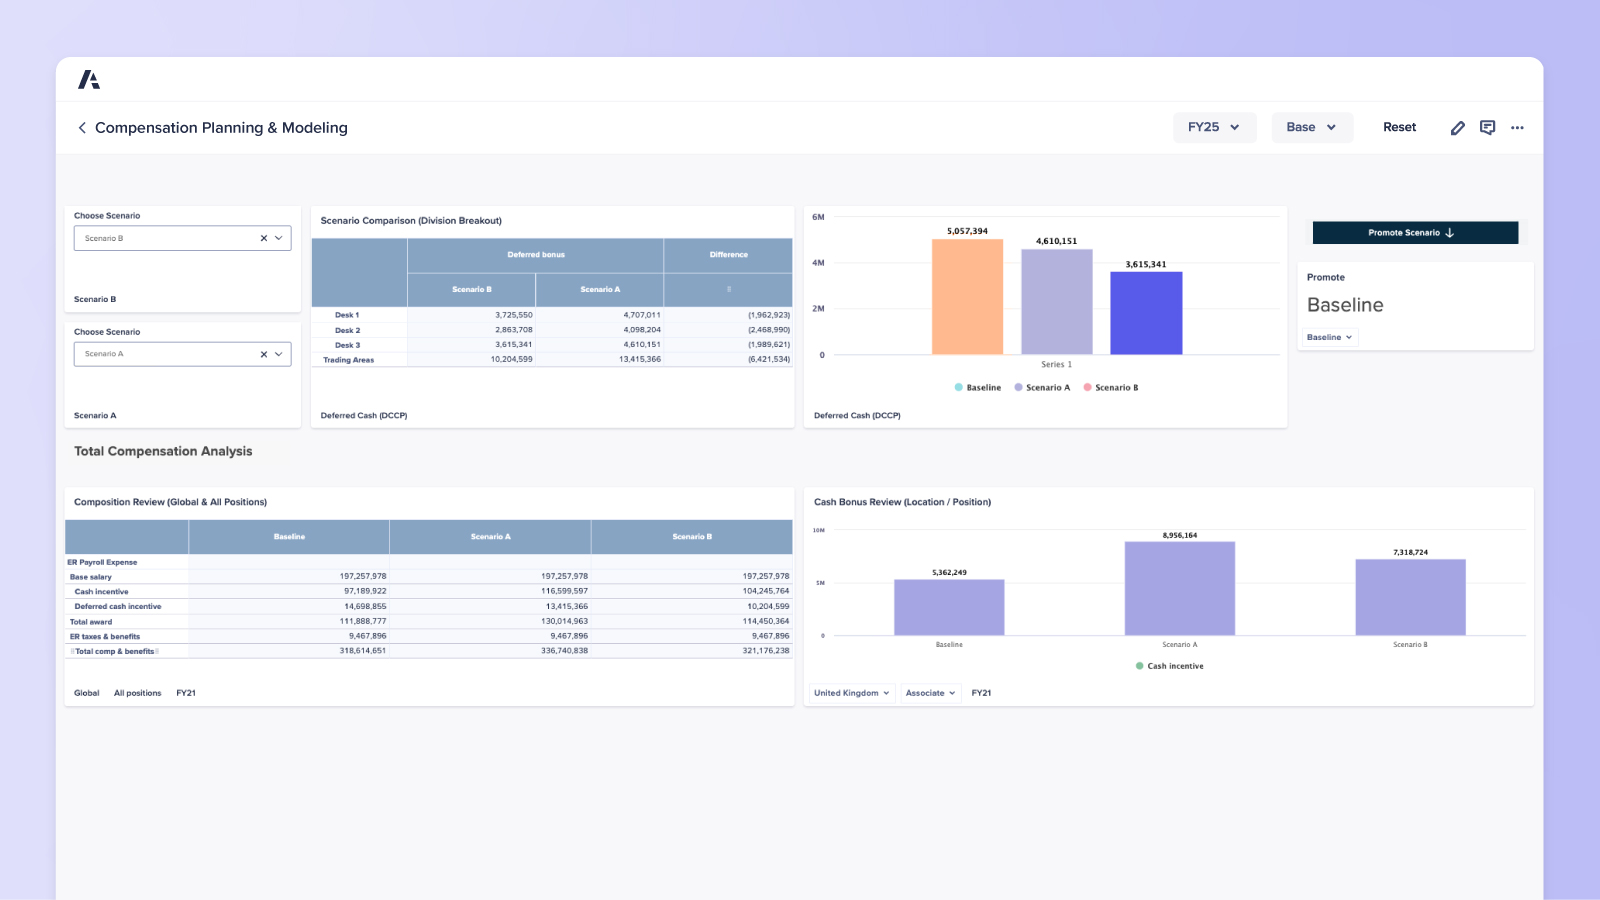
Compensation planning and modeling
Drive the right behaviors and actions aligned with your organization’s strategy, culture, and values.
Discover our purpose-built, ready-to-deploy Anaplan applications for HR and workforce
Built on the Anaplan agile cloud-native platform, these applications, offering out-of-the-box functionality, are designed for rapid deployment of essential HR and workforce business uses and incorporate best practices for quick value realization.
Top HR and workforce leaders
plan with Anaplan
- Better workforce plans save lives at South Central Ambulance Service
- Fortune 500 bank tailors staffing, saving millions while reducing risk
- Scenario planning gives Outreach.io an edge in a volatile environment
- Leading bank improves customer service with multichannel contact center staff planning

“With Anaplan, having a better forecast helps us mitigate risk, particularly around spikes in demand.”
David Webb, Head of Forecasting, South Central Ambulance Service
“With Anaplan, we know what our hiring will cost and how that affects our risk profile.”
Head of Process Optimization, Fortune 500 Bank

“We’re able to stay ahead of any challenges and market moves to achieve the prioritized targets for Outreach and our customers. The flexibility of Anaplan planning makes that possible.”
Robbie Phelps, Solutions Architect, Outreach.io
“Our overall forecast accuracy using Anaplan has improved from over 12% deviation to 5% and below, which is industry standard and best practice.”
Customer Experience Lead, Leading Bank
Discover the platform HR and workforce leaders trust. Be the next.
Find out how you can increase your impact on talent decisions that improve productivity, reduce costs, and drive growth.
